Halloween is upon us, and the time to personalize your pumpkin too!
While some are bursting with creativity and unsure which idea to implement, others still wonder what face or design will adorn their pumpkin this year.
And if you’re looking to do a fun activity with your kids for the occasion, nothing beats a good pumpkin carving!
At the end of this article, you will know everything you need to do to make your Halloween pumpkin decoration a success. And if these few tips are not enough for you, you will find inspiration in the photo gallery at the end of the article.
How to carve a Halloween pumpkin
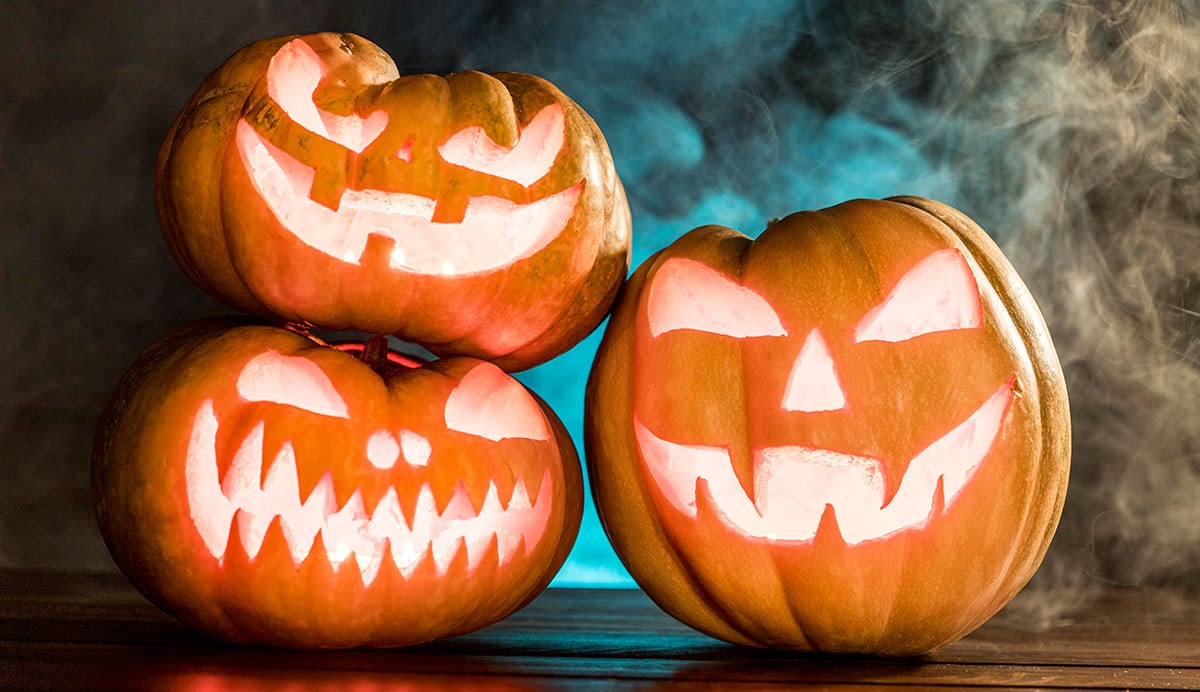
To ensure your jack-o’-lantern is primed for Halloween, follow these ten amazing tips.
1. Don’t eat a pumpkin that has been carved into a jack-o’-lantern!
2. Choose a large pumpkin. The bigger it is, the easier it will be to sculpt. Avoid pumpkins that show signs of bumps or moldy stems as they will deteriorate quickly. Also note, pumpkins with a lighter color tend to be softer and easier to carve.
When cutting out the top, place the knife at a 45-degree angle ( cut top to bottom ). This will give the cover a place to rest when you put it back on. If you cut from the bottom up, the cover will slide off when you put it back.
3. When cleaning the pumpkin, collect the seeds. Roasted pumpkin seeds are a healthy and delicious snack. Use a large tablespoon or a sherbet spoon to scrape the inside. If you are going to light up the pumpkin, you will need to scrape the back wall as smooth as possible as this is where the light will be reflected. Ultimately, the optimum wall thickness for the pumpkin is around 2.50cm.
4. To make your Halloween pumpkin last, soak it once cleaned in a bleach bath (1 teaspoon of bleach per 3.5 liters of water) for a few hours. Dry thoroughly and then rub the inside and outside, including all cut edges, with vegetable oil or petroleum jelly to prevent drying out. If the pumpkin starts to wither, repeat the process.
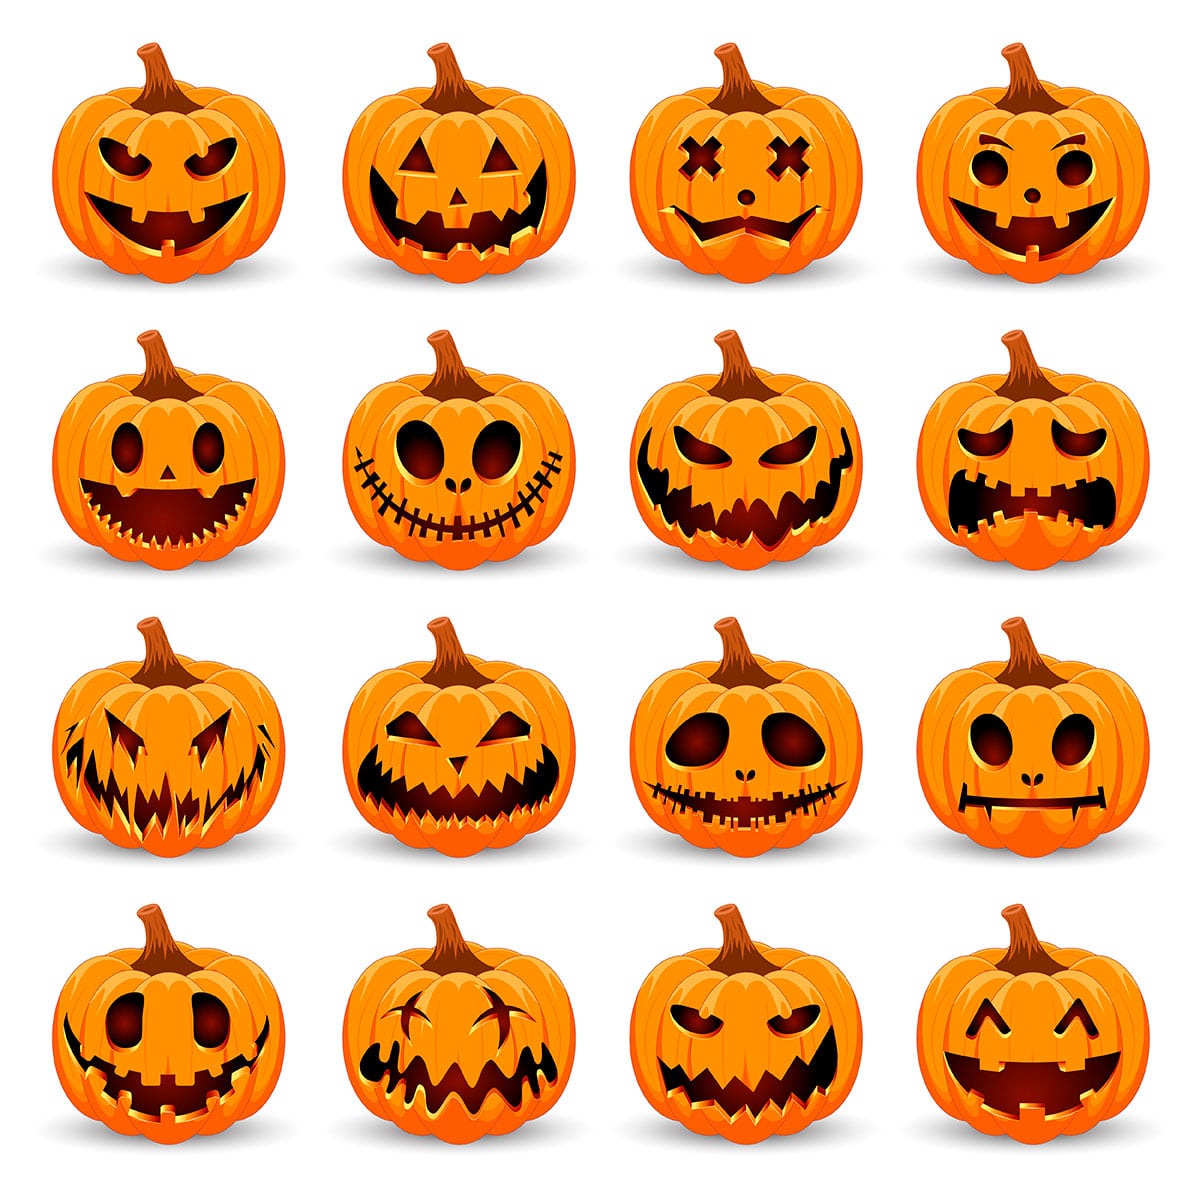
5. If you are new to the subject, choose a simple pattern. Once you master the simple patterns, you can move on to something more difficult and daring.
6. Print or draw the design on a piece of paper. Use small, sharp scissors or a box cutter to define the areas to be carved in the pumpkin. Attach the template to the pumpkin and use a marker to trace the lines of the carvings. When your pattern is well-drawn, you can start dissecting your pumpkin!
Another technique: trace the outline of your pattern using a nail, making lots of small holes. Then connect the dots to make your pumpkin’s spooky face appear!
7. You will need a long serrated knife to cut through the thick flesh of the pumpkin. Take your time to cut along your marks so that there are no residues (fibers, traces of marker…).
You can consider cutting the bottom of the pumpkin in addition to its top. The pumpkin will then be more stable and easier to carve. If you plan to use a candle to light your jack-o’-lantern, make sure the bottom’s opening is wide enough to fit the candle. Then place the candle on a non-flammable base large enough to fit inside the pumpkin.
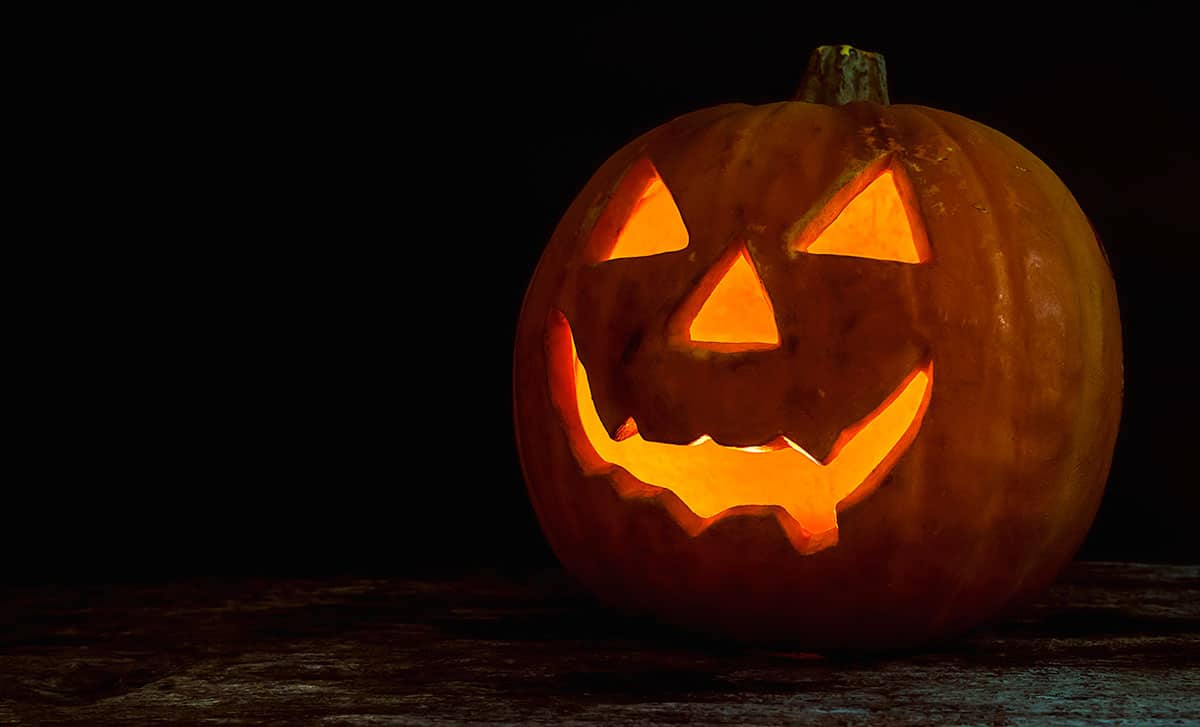
8. If you must light your pumpkin with a candle, be sure to remove the cover to avoid the risk of fire. Use a votive candle in a glass holder or one of those little mood candles with a metal tower. If you want to leave the lid on, cut a hole in the back of the pumpkin that will act as a fireplace. NEVER leave a lighted pumpkin unattended for too long.
A small, electronic battery operated candle is a safer choice than traditional candles for lighting your Jack-o’-lantern .
9. Sprinkle the inside of the pumpkin’s lid with ground cinnamon , nutmeg and/or cloves to act as an air freshener.
10. Place the jack-o’-lantern in a plastic bag and refrigerate it when not in use.
In conclusion
Don’t feel like cutting your beautiful pumpkin to pieces or getting dirty? So try to simply decorate your pumpkin by painting designs with cake frosting. So you can celebrate the spirit of Halloween … and enjoy your pumpkin once the party is over!
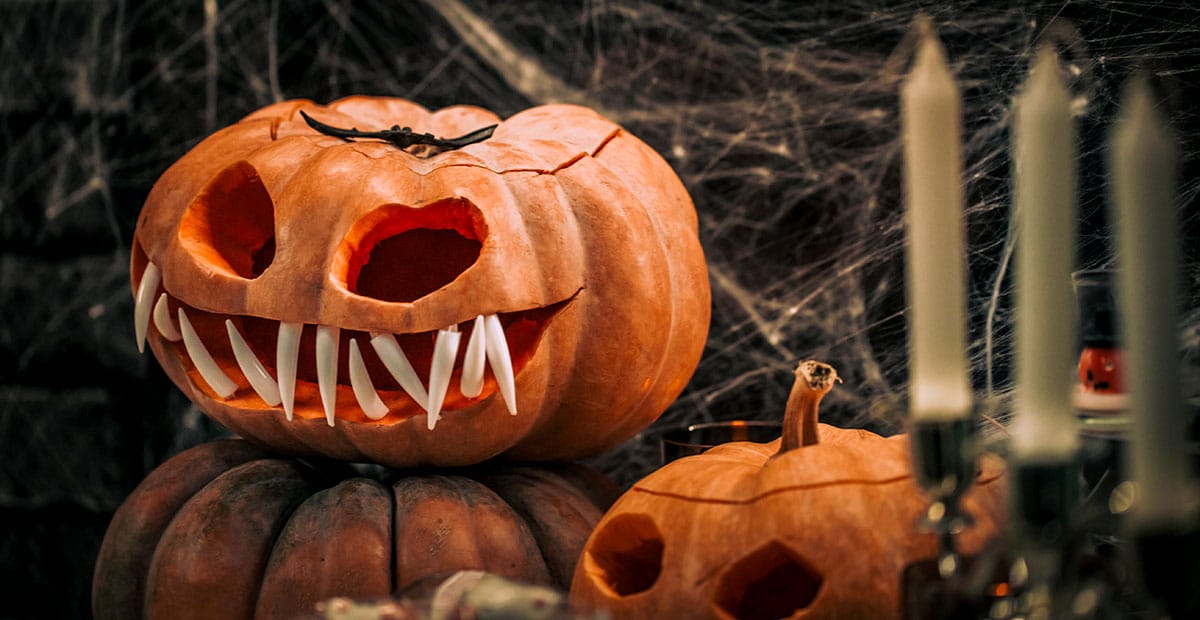
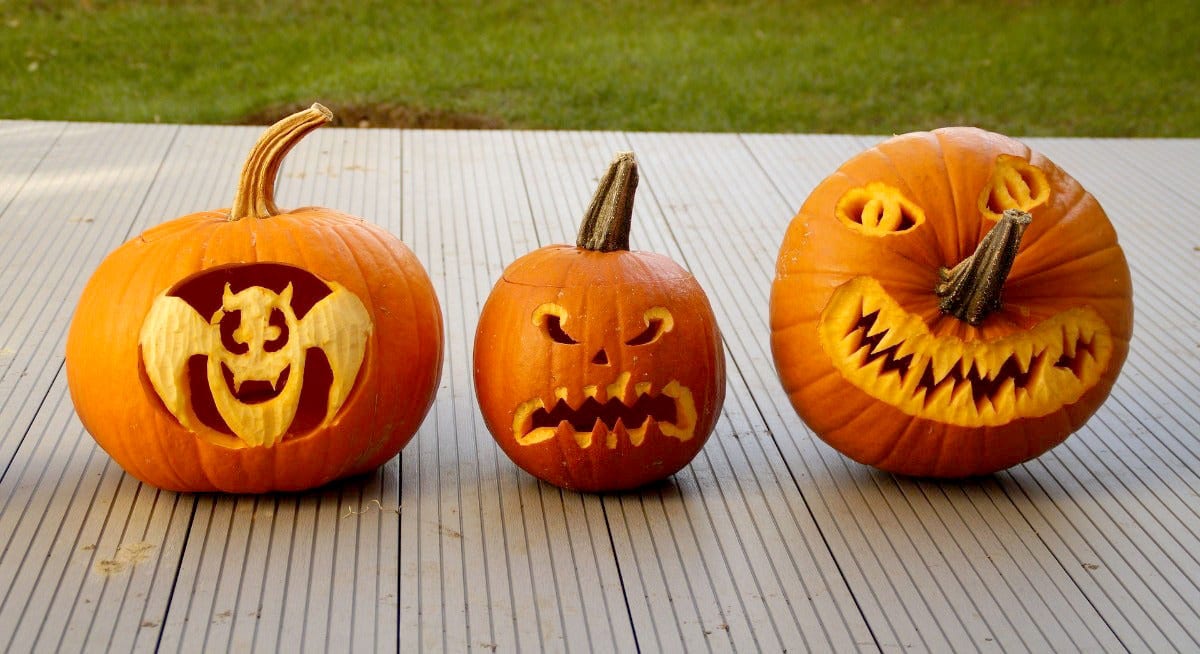
Photo Credit: www.nouvelles-du-monde.com